
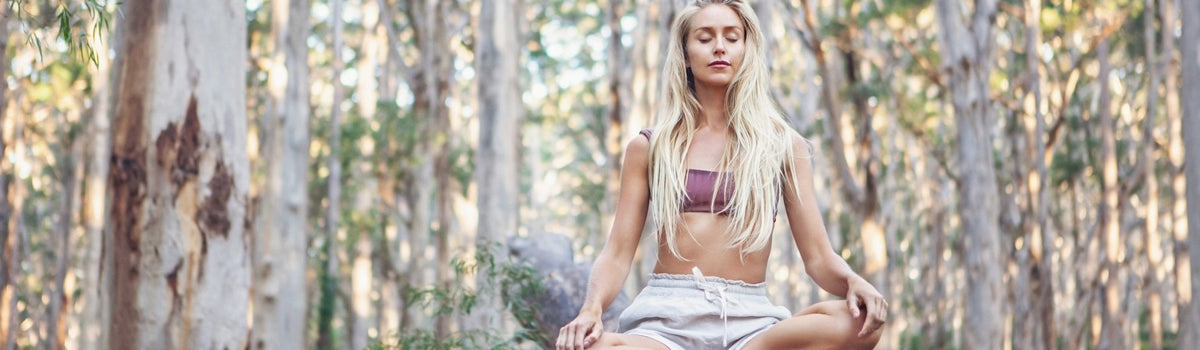

Anyone who knows me would know I've had a passion for global spa travel since my 20's. I particularly love traditional Asian spa techniques.
This is why I'm excited to be adding traditional facial massage tools to our iKOU range!


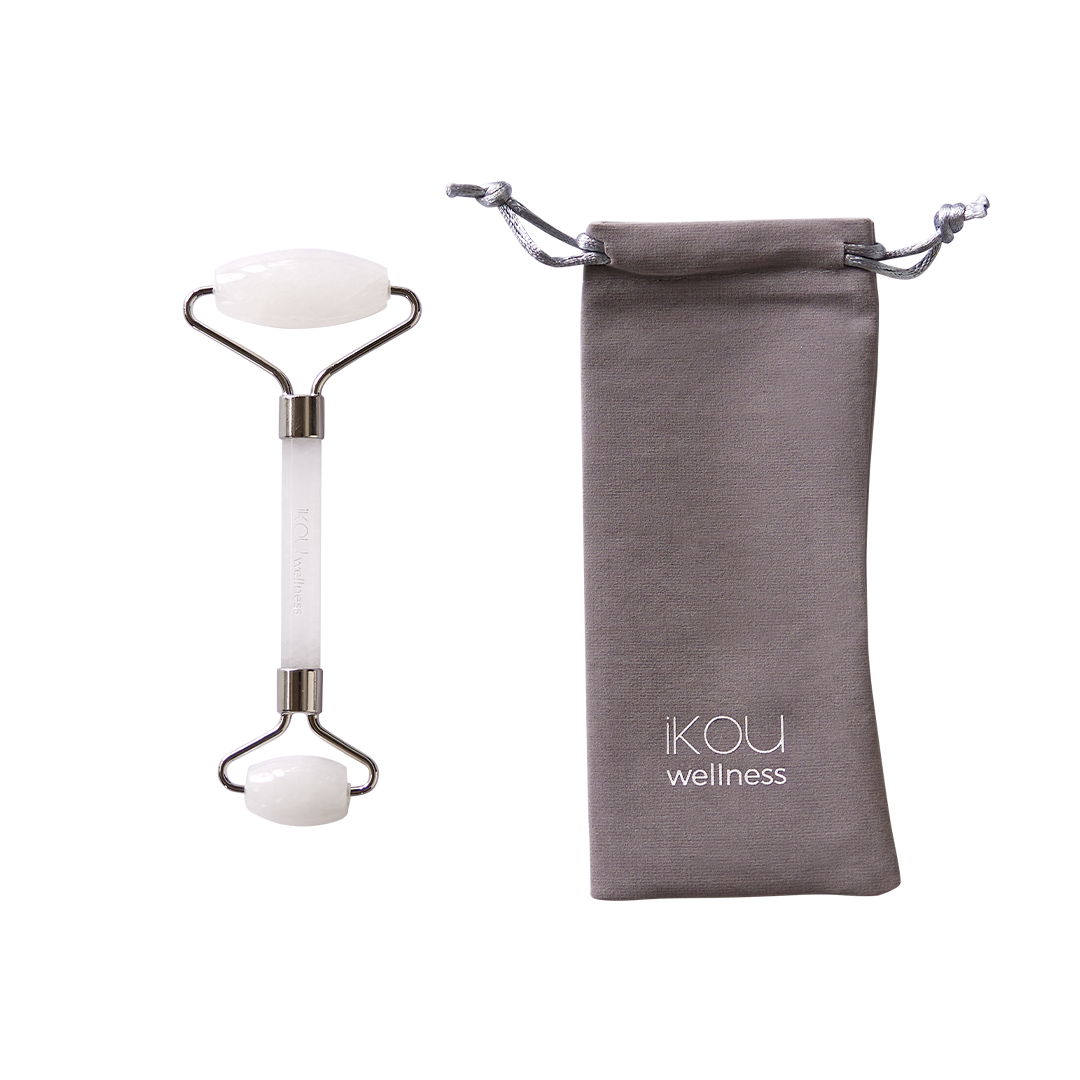
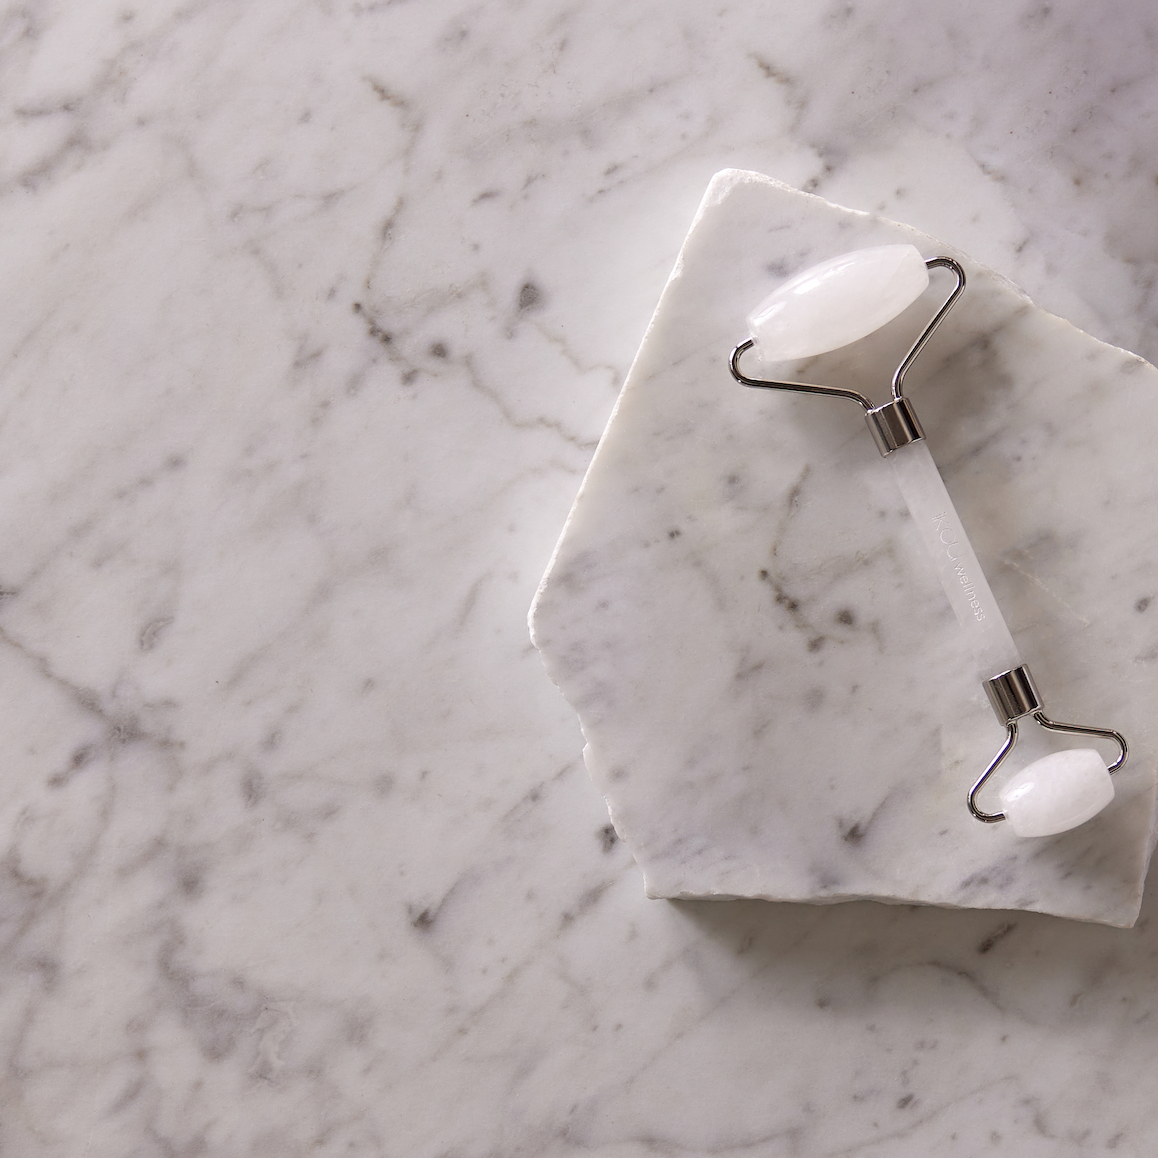
Both the natural quartz crystal Gua Sha and Facial Roller tools have long been used as part of traditional eastern Day Spa techniques- and now you can add them into your home routine.
What’s the difference between the two?
Both sculpt, tone and boost skin health- but there are also big differences;
Best for product absorption, this is an express option for facial massage.
It’s great for rolling serums or moisturiser into the skin.
This perfectly shaped facial wellness tool is best followed in a mindful massage sequence. It relaxes tension from the facial muscles and neck, and sculpts and contours the face.

How to use:
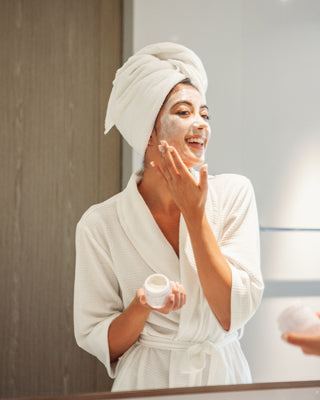
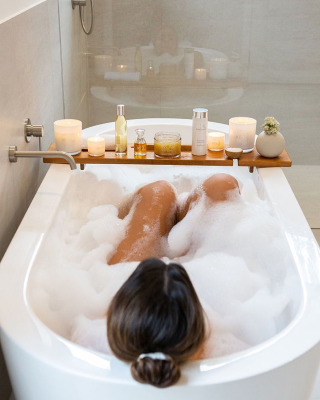
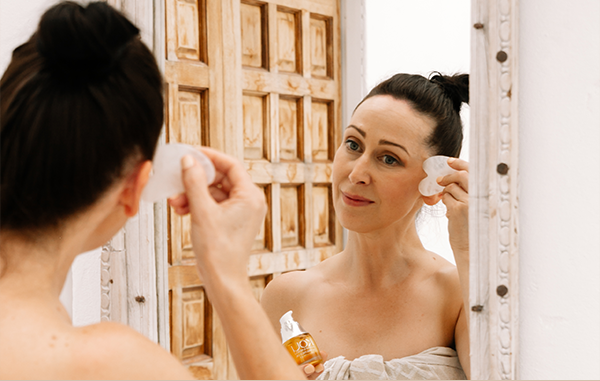
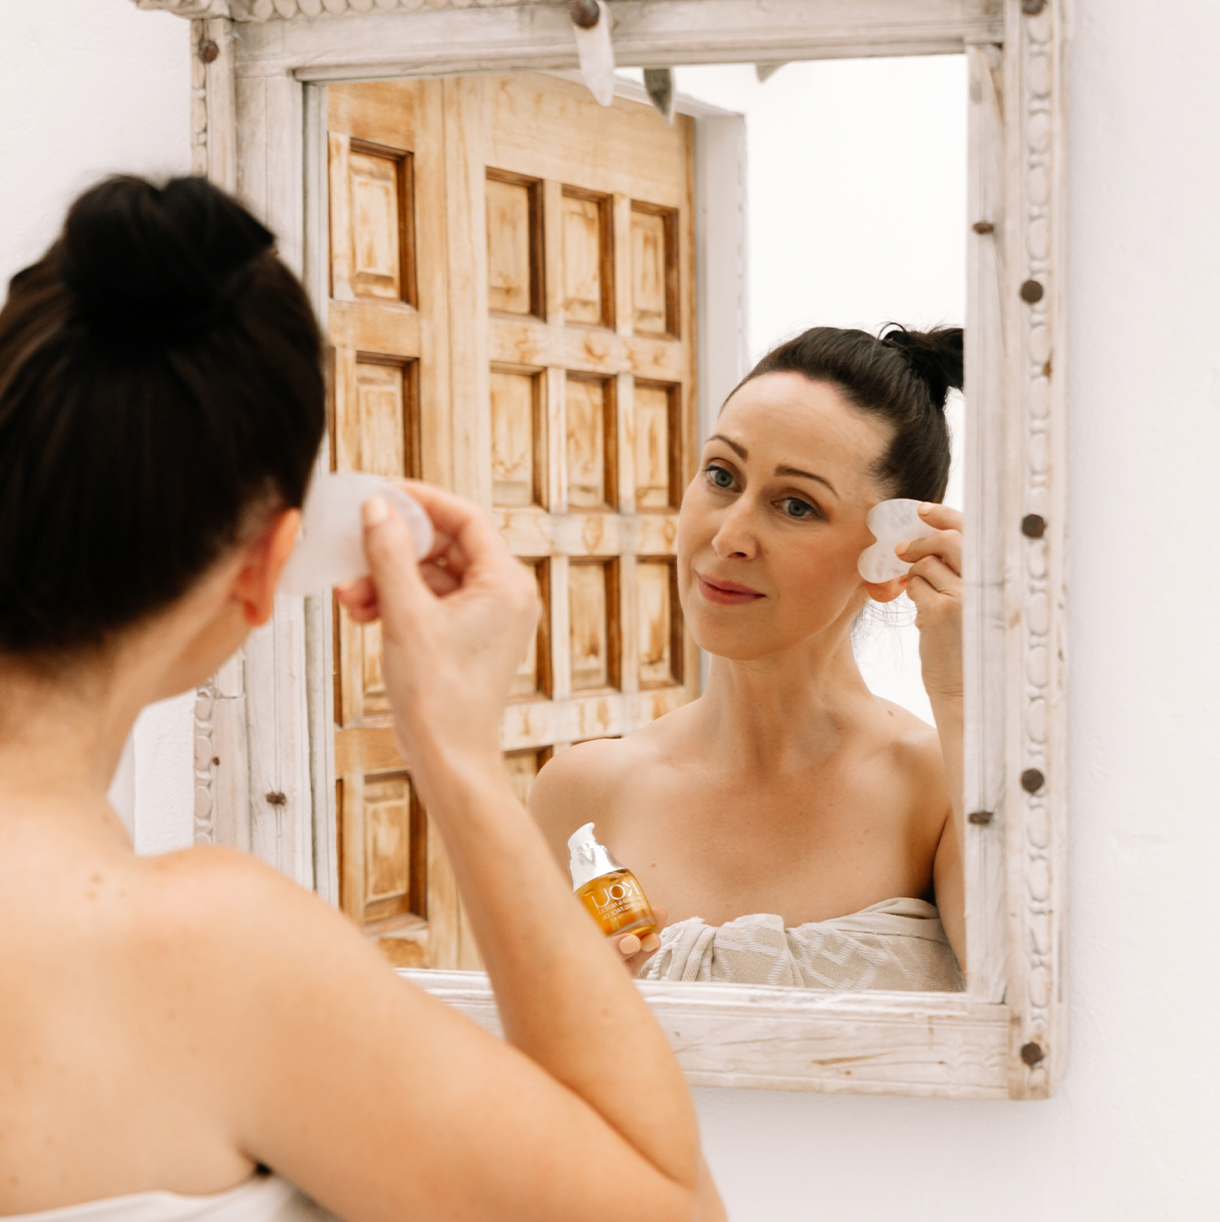
iKOU Baobab & Neroli Calming Face Oil is the perfect base for massage with a Gua Sha or Facial Roller.
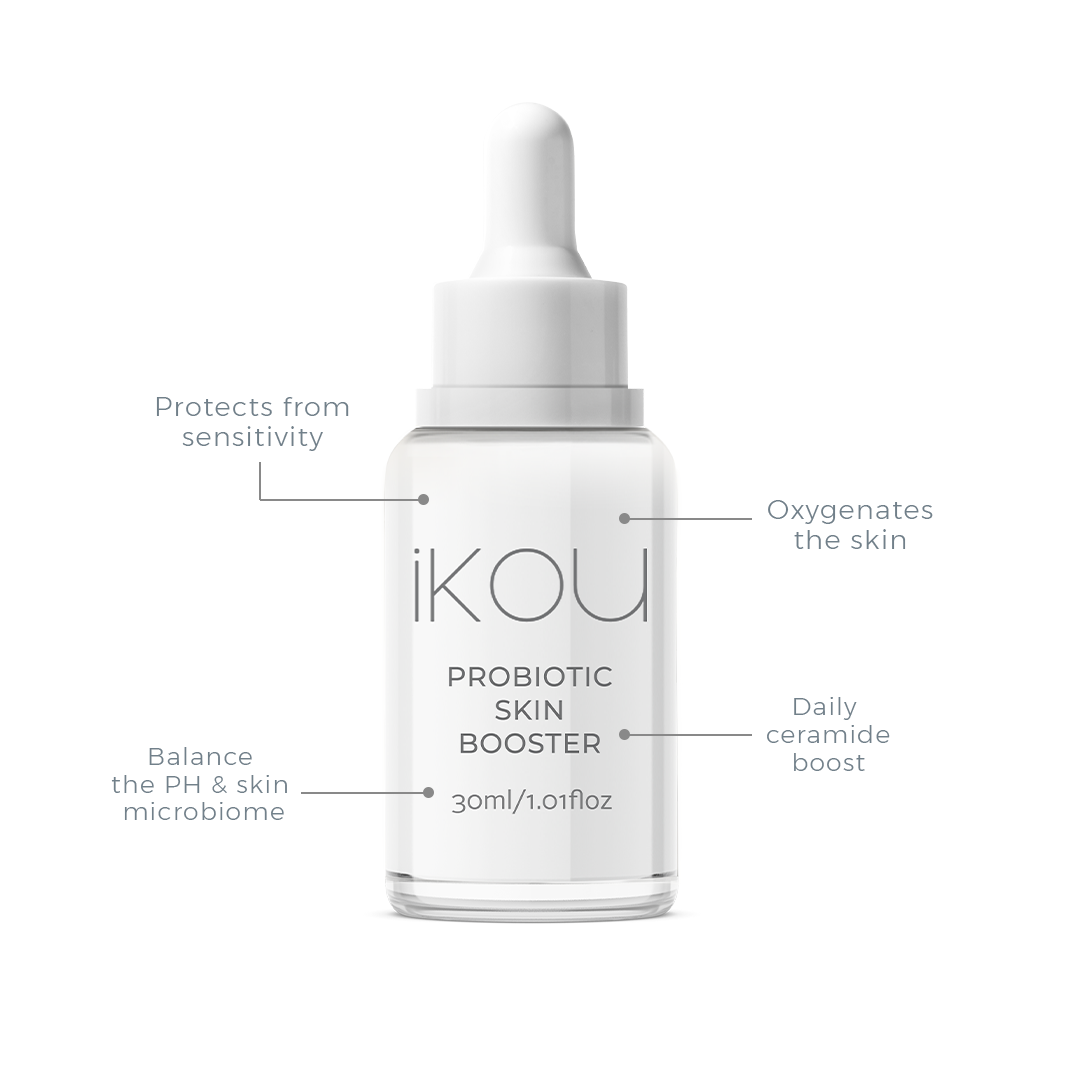
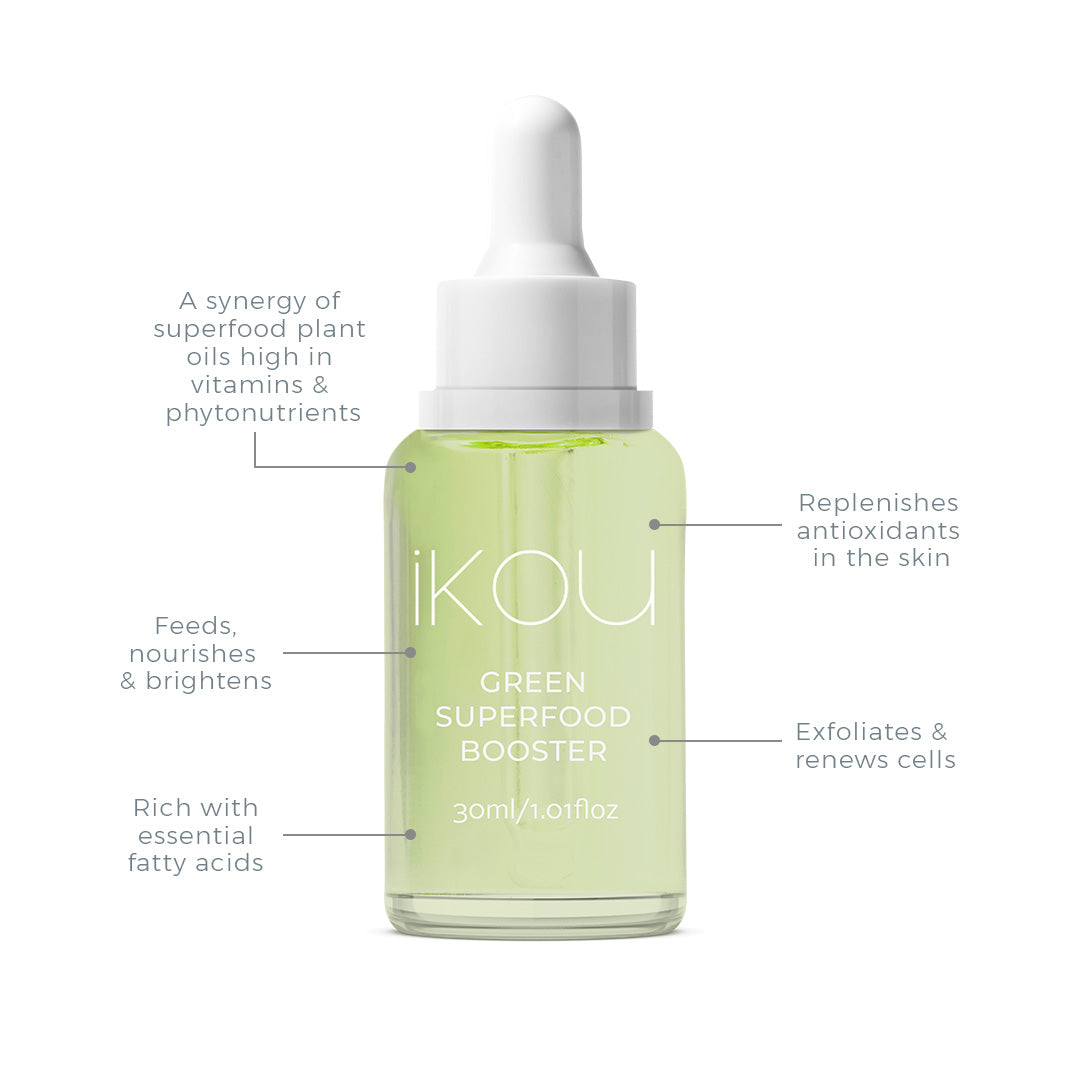
You can also use these tools with our NEW iKOU Skin Wellness Booster range.
If you want to boost hydration- mist your face with iKOU Optimum Hydration Face Mist first, then apply your oil, Booster or Serum to your skin and massage in with the tool.
The Gua Sha tool is designed to fit the contours of your face, therefore using in the directions outlined below will give you optimal results. Starting from the neck and working your way up the face, allow the movement of the Gua Sha to increase product absorption, relax the muscles of the face, lift the skin and aid lymphatic drainage - all while soothing the mind!

STEP 1: SIDE NECK AND SHOULDER RELEASE
Start with 2-3 pumps of iKOU Baobab & Neroli Calming face oil applied to the face after being freshly cleansed. Then using the longest part of the Gua Sha, glide the tool up the side of the neck, from the base of the shoulders. Then press with short pressing movements at the jawline under the ears.

STEP 2: FRONT OF NECK RELEASE
Using the same part of the Gua Sha, glide the tool up the front of the neck, starting at the collar bone and bring up the jawline. Glide to the base of the ears to then press with short pressing movements once more. Repeat on the other side.

STEP 3: JAW RELEASE, LIFT AND SCULPT
Along the jaw line, using the heart shaped section of the Gua Sha, trace up the jawline starting at the chin and stop under the ears to apply pressure. Repeat before moving to the other side of the face.

STEP 4: CHEEK SCULPT AND LIFT
Using the long slide of the Gua Sha, while holding the side of the nose, sweep the tool from the top of your mouth and up the contour of your cheekbone. Then place medium pressure at your hairline and repeat before swapping to the other side.

STEP 5: BROW LIFT AND EYE OPENER
Placing the heart shaped part of the Gua Sha at the beginning of your eyebrow with the smaller curve under the eyebrow. Sweep the tool over the eyebrow while following its shape to the hair line with gentle pressure. Repeat on the other side.

STEP 6: UNDER EYE REFRESH
With the largest curve of the tool, place the Gua Sha flat on the inner corner of your eye and glide it up under the eye area and up to the hair line, adding gentle pressure movements at the end of the motion. Repeat before moving to the other eye.

STEP 7: FOREHEAD LIFT AND RELEASE
With the longest part of the Gua Sha, hold under your eyebrow with your other hand and sweep the tool upwards from the top of the eyebrow to your hair line. Then repeat from the centre of the eyebrows and the other side.
Consistency makes all the difference - daily use gets the best results.
Enjoy bringing this little taste of Asian spa into your facial rituals!


 Copy link to share
